Obstacle Courses for Motor Planning, Strengthening, and More

Obstacle Courses

I love obstacle courses for kids, and the best part about them is that most kids love them as well!

So, why do I love obstacle courses? Not only are they a quick, cheap and easy activity get kids moving, but obstacle courses have many developmental benefits as well.

Let me break down some of the benefits associated with participation in completing obstacle courses:

First, obstacle courses provide a great opportunity to engage in and practice praxis and motor planning skills. Praxis is the term that includes the need to create, plan, and carry out a sequence of motor movements.  Obstacle courses often offer novel physical environments for children, challenging their praxis skills. This also provides opportunities for children to reflect and learn how their motor plan and movements succeeded (or didn’t quite succeed) leading to development and improvement of motor planning and praxis skills.

OBSTACLE COURSES FOR KIDS.png

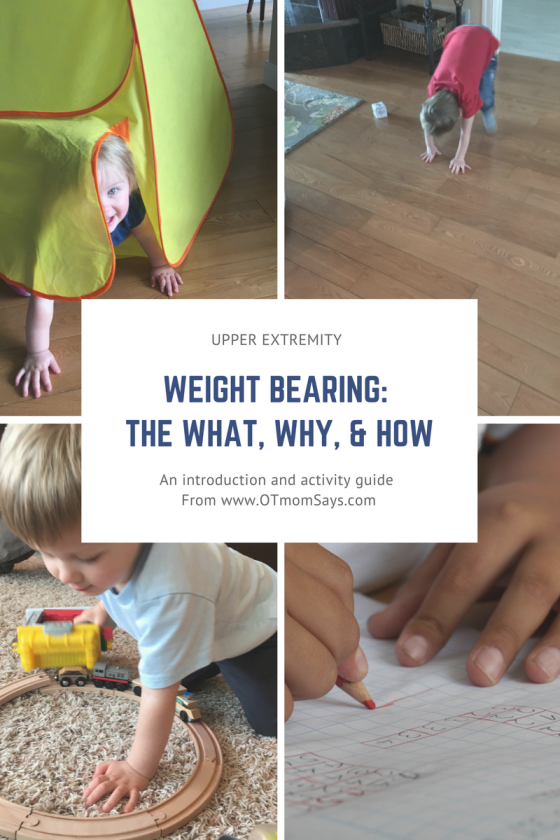
While completing these motor movements, children are also engaging in weight-bearing and strengthening activities.  It’s fun to incorporate challenges such as climbing over or crawling under obstacles. These motions allow for weight-bearing on the arms which helps to strengthen hands, wrists, arms, shoulders, and core muscles.

It’s beneficial to strengthen all of these muscles as they provide important aspects of postural control as well as allow for precision movements for tasks such as handwriting and many other fine motor tasks. Having strong core and proximal (close to the body) muscles allows children to use their hands more easily for tasks requiring precision.

children-334528_1920.jpg

Obstacle courses also encourage body awareness and bilateral integration skills (using both sides of the body in an organized and coordinated manner).  While climbing through tunnels, up ladders, or under items, coordination between both right and left arms and legs must be coordinated to successfully complete the challenge.

Opportunities for tactile (touch) and proprioceptive sensory input are also present while completing obstacle courses and together these senses promote body awareness, or knowing where your body is in space. Proprioception allows us to know where our limbs are and how much force our muscles are using at any given moment. Participating in “heavy work” activities that provide substantial input to the proprioceptive system also allows for optimal regulation of arousal levels. Meaning, these activities can both calm or alert children, depending on the situation and needs of the child.

img_3859.jpg

While moving through obstacle courses, the vestibular sensory system is also activated. This important sensory system provides awareness of where your head is in space and of head movements. The vestibular system works closely with visual and proprioceptive systems to maintain balance.

An additional bonus of obstacle courses is that they can be great for preposition practice. A good obstacle course will have items to go under, over, near, around, next to, etc. It’s a great way to verbally label these actions to help reinforce children’s understanding of these difficult concepts in a fun context.

A Few Obstacle Course Ideas

Obstacle courses can be so EASY to create and there are ENDLESS possibilities when it comes to creating your own.

Using them indoors or outdoors, the glory of creating your own obstacle course is that you can use whatever materials you have on hand. With a little imagination, you can turn just about anything into part of the course.  Here are a few ideas that I’ve come up with…
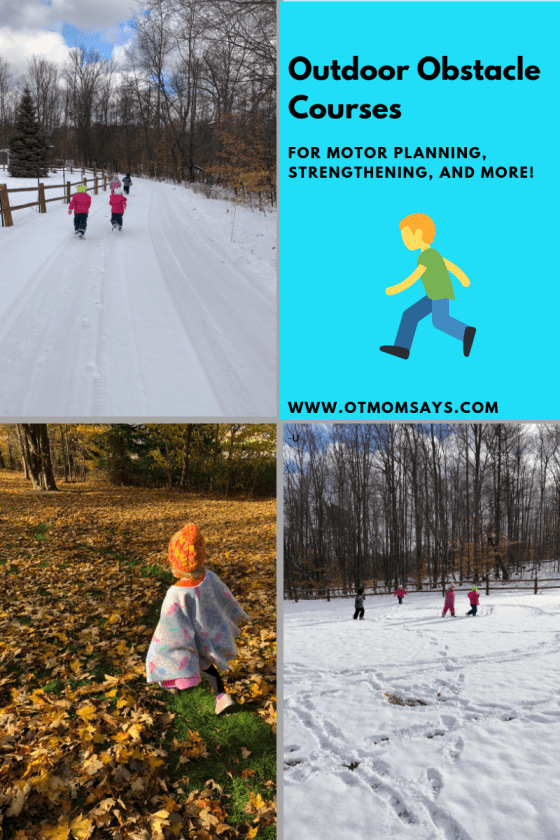
Outdoor ideas:

  • Use chalk to outline or mark parts of your course.
  • Jump over sticks or logs and make trails of pebbles or leaves.
  • Make a path through the leaves, snow, or sand.

According to Wikipedia, swimming pool sanitation is the process of ensuring healthy conditions in swimming pools, hot tubs, plunge pools, and similar recreational water venues.

Indoor ideas:

  • Use couch cushions or pillows to climb over or step on to really challenge balance and encourage strengthening.
  • Use painter’s tape on the floor to run through, jump over, or spin around on.
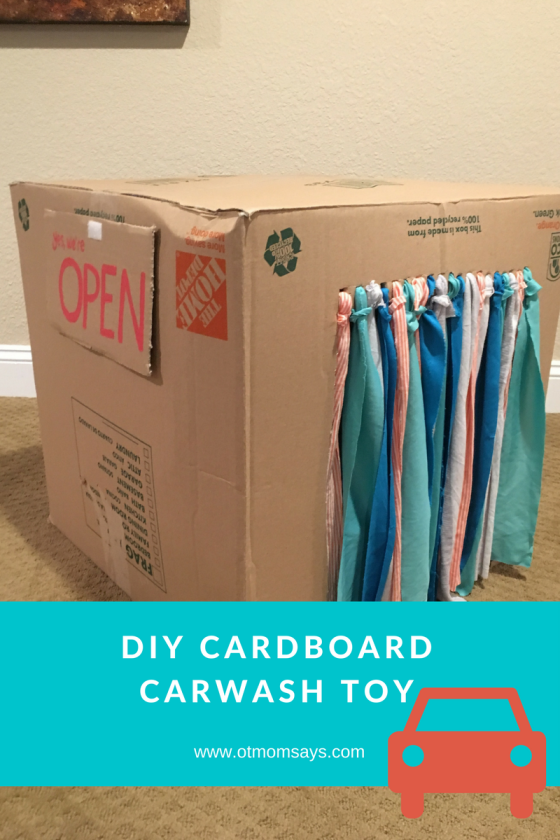
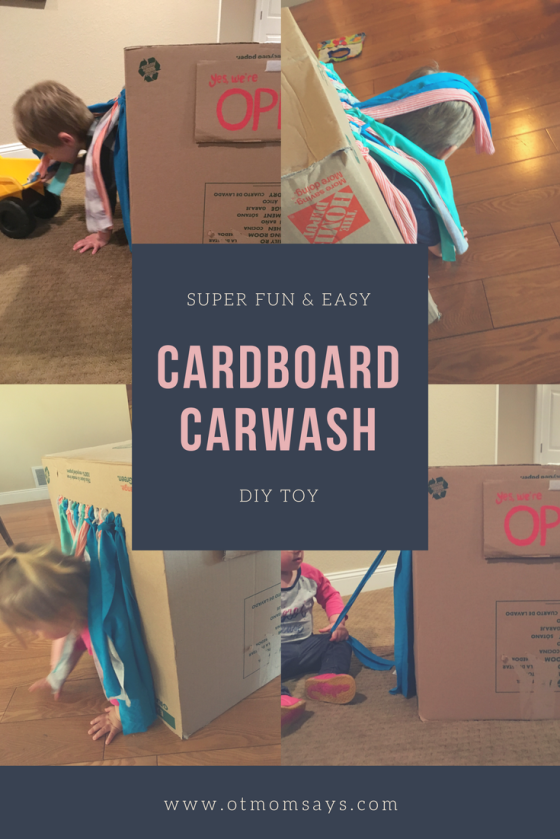
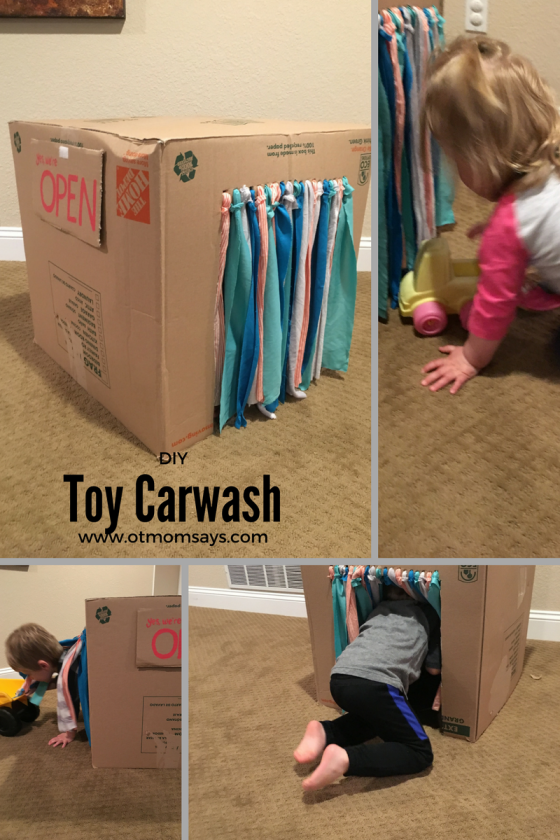
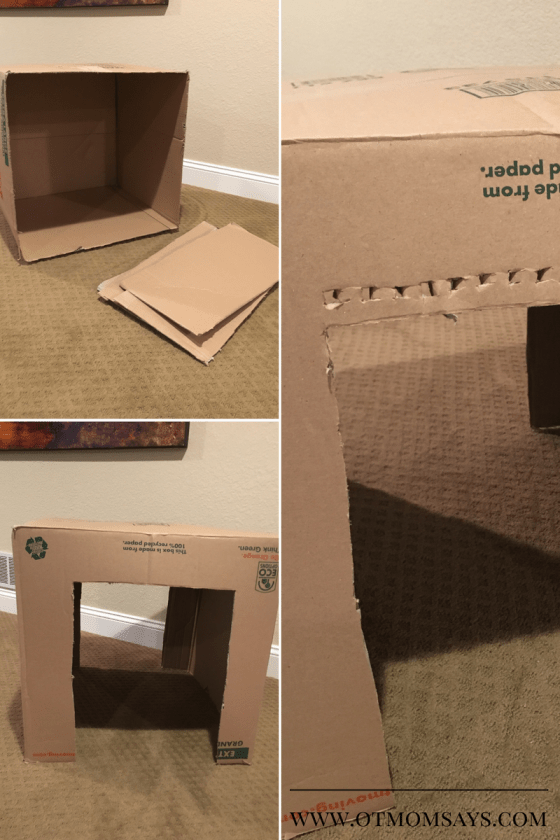
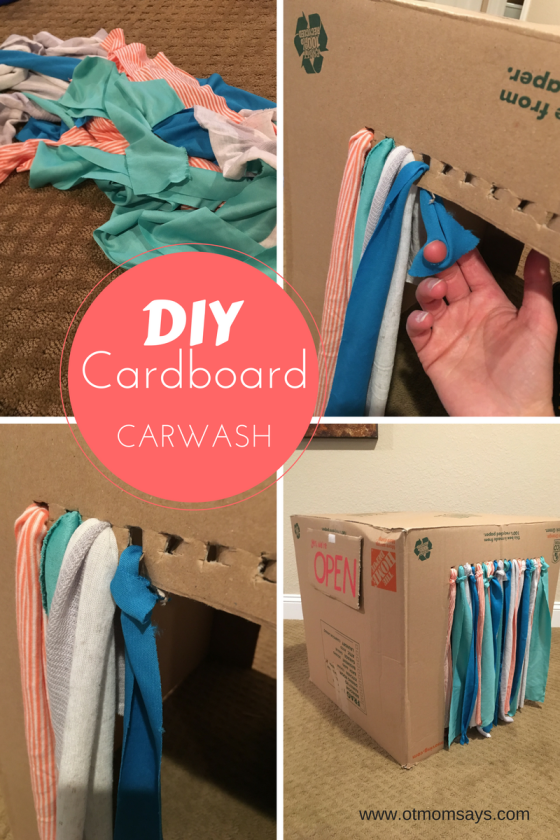
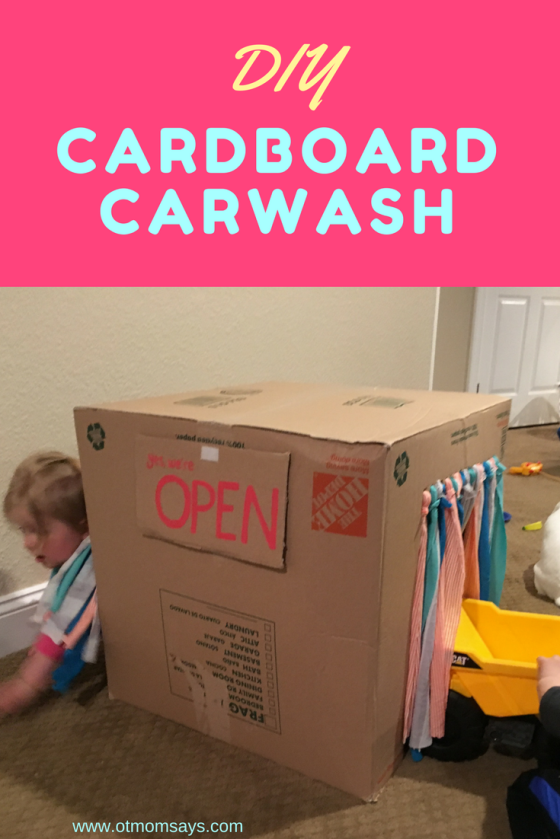
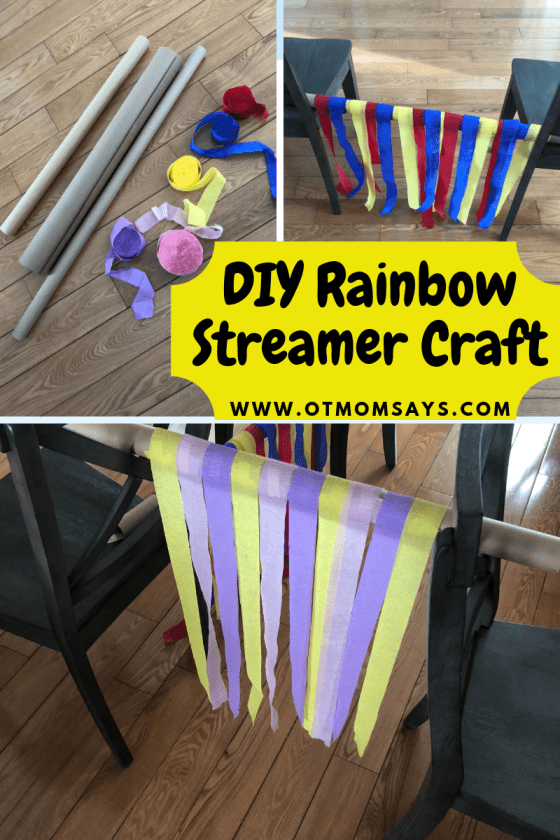
  • Climb through tunnels or a homemade streamer curtain.

DIY Rainbow Streamer Craft

Even more ideas:

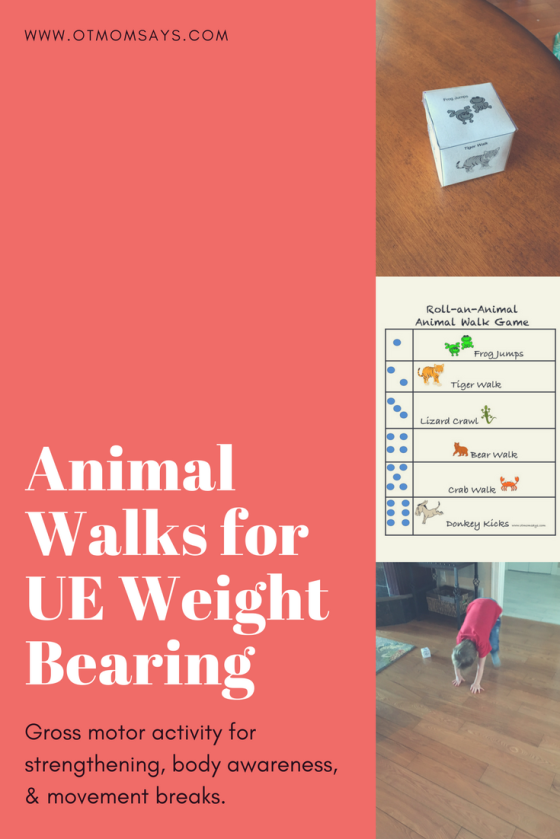
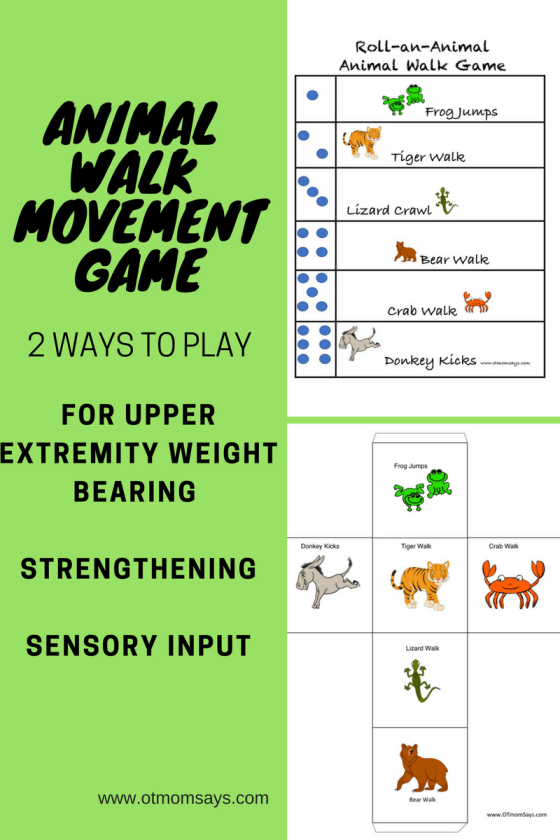
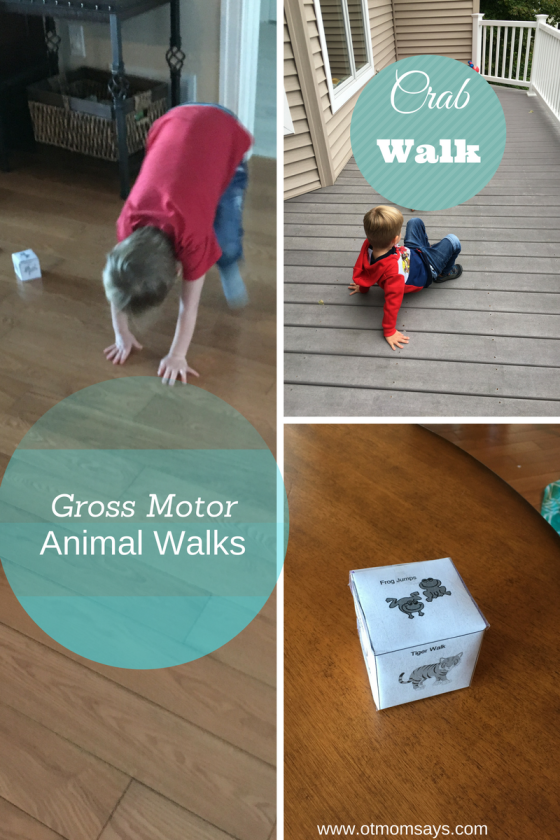
  • Make it silly and add animal walks.
  • Make it imaginative and stay out of the hot lava floor but jumping to couch cushions, mats, or even squares of paper.
  • With multiple kids, have a “leader” create a course as you go. (I did this with my nieces and part of our course was sitting on the snow and spinning around on our bottoms). Kids come ups with some great ideas!


Most importantly, make it fun! Don’t be surprised if the kids take the lead and come up with their own ideas. It’s great for encouraging imagination, and if there is more than one child involved, cooperation and social skills are at play as well.  Comment some of your ideas below!


*Disclaimer: The information presented in the blog is intended for information and entertainment purposes only. Please consult your physician with any medical concerns and/or for medical advice. The information presented is not intended to be used in place of individualized therapy services, please contact your health care team for skilled therapy if you think it is necessary. Please supervise your children (or friends, spouses, etc) if you decide to try any of the activities or ideas presented as the author or this blog does not claim liability for possible injury or negative consequences related to the activities and ideas presented here.

Advertisement

Upper Extremity Weigh Bearing for Kids: the What, Why, and How

Weight bearing is exactly what it sounds like, supporting the body’s weight through the extremities. While kids are frequently standing, walking and running, putting pressure through their legs, it’s also very important not to forget to incorporate weight bearing for the arms.

Upper extremity weight bearing, what why and how

By engaging in weight bearing activities through the arms, children strengthen their hands, wrists, elbows, shoulders and even neck and core muscles. Strong proximal muscles also allow for children to have better control of their distal muscles, which is necessary for fine motor coordination.

In this day and age of increased technology use, younger generations are demonstrating weaker grip strength as compared to older generations2. Yet, school aged children are expected to meet the demands of academic expectations including efficient and legible handwriting. Encouraging children to engage their arms in strengthening activities early on can help set the stage to increased success with later motor skills, including handwriting.

Weight bearing activities also provide awareness into the joints– this is known as proprioceptive input and in addition to providing information about the body’s position in space, it also has an impact on a child’s state of arousal, as in how alert or calm they are. For more information on proprioception, check out this article.

To incorporate weight bearing throughout the day, try to encourage kids to participate in some of these activities that have the above-mentioned benefits and more:

animal walks for UE weight bearing

Try animal walks, such as walking on hands and feet like a bear, crab walking, etc.  Find a few more examples and two free gross motor animal walk game printables here.

Stretches, push-ups, planks and yoga poses that use different positions to put weight through outstretched arms, such as downward dog.

people-2557453_1920

Bring it to the floor. Puzzles, crafts, toys can all be played with on the floor. Encourage kids to weight bear on their arms to reach for toys and manipulate items. This also helps with dissociating the different sides of the body and crossing midline, and encourages bilateral coordination skills.  Crawling while pushing a toy car, truck, or boat along the floor is a fun one for toddlers.

Obstacle courses that encourage crawling and climbing are a great way to exercise the entire body, including the arms, legs and core. Try to be creative with it, including obstacles to climb over or under, such as a tunnel, over couch cushions, or through a tent. My kids love crawling through our homemade car wash box.

scooter board

Use a Scooter board! Use both arms to propel forward while lying on the board. You can make it more challenging by creating obstacle course or scooter board races with a friend.

The Centers for Disease Control and Prevention recommends that children should be getting at least 60 minutes of physical activity each day1. Of this one hour or more, activities should include aerobic activity, muscle strengthening, and bone strengthening activities. Weight bearing activities fall into the muscle strengthening category for children, and it could also lead to bone strengthening (such as when jumping or hoping is incorporated) and aerobic activity as well depending on the nature of the activity.

Get those kids moving, and have fun with it!

References:

  1. “How much physical activity do children need?” Centers for Disease Control and Prevention, Centers for Disease Control and Prevention, 4 June 2015, http://www.cdc.gov/physicalactivity/basics/children/index.htm.
  2.  Fain, E. & Weatherford, C. (2016). Comparative study of millenials’ (aged 20-34 years) grip and lateral pinch with the norms. Journal of Hand Therapy Oct-Dec 29(4). pp.483-488.

*Disclaimer: The information presented in the blog is intended for information purposes only. Please consult your physician with any medical concerns and/or for medical advice. The information presented is not intended to be used in place of individualized therapy services, please contact your health care team for skilled therapy if you think it is necessary. Please supervise your children (or friends, spouses, etc)  if you decide to try any of the activities or ideas presented as the author or this blog does not claim liability for possible injury or negative consequences related to the activities and ideas presented here.

Gross Motor Movement Break: Roll-an-Animal Walk

Weight Bearing Animal Walk Game

Several months ago, I created a Trolls inspired movement game that has continued to be a big hit in my house.  With the success of this game in mind, I decided to create another gross motor break game, and the Roll- an- Animal Walk game cube was born!

Animal walks are a great activity for kids, as the movements have many benefits. Weight bearing on extended limps provides for strengthening and proprioceptive input. For more about the benefits and importance of upper extremity weight bearing, check out this other post.

Two ways to play animal walk movement break games

You can create an animal walk cube with this free printable: Roll-an-Animal Walk Cube Game Template

(I recommend using thick paper or laminating the template prior to cutting and taping it together so that it’s a little more durable).

If you’d prefer to use dice, you can try this one instead: Roll-An-Animal Walk Dice Game PDF

Here’s how to do the walks:

gross motor animal walks

Crab Walk– Place hands behind the body, lift bottom completely off the floor to move forward or backward.

Bear Walk– Walk on hands and feet.

Tiger Walk– Crawl on hands and knees (sneakily, like a Tiger).

Donkey Kick– place hands down on the floor and kick legs up behind like a donkey.

Lizard Walk– crawl pulling with the hands, also known as an army crawl.

Frog Jump– squat with hands in front, using the hands and feet to push off while jumping forward.

The great thing about this activity, is that it’s quick, easy and can be done anywhere. In addition to strengthening muscles, movement breaks such as these provide some sensory input to encourage attention and optimum arousal for learning. Please feel free to share with parents, teachers, and therapists who might love incorporating this fun activity into their daily regimens!


*Disclaimer: The information presented in the blog is intended for information purposes only. Please consult your physician with any medical concerns and/or for medical advice. The information presented is not intended to be used in place of individualized therapy services, please contact your health care team for skilled therapy if you think it is necessary. Please supervise your children (or friends, spouses, etc)  if you decide to try any of the activities or ideas presented as the author or this blog does not claim liability for possible injury or negative consequences related to the activities and ideas presented here.

DIY Cardboard Box Carwash

My son (once again) said, “Maybe go to the carwash today.”

OT mom said, “Instead, let’s play car wash!”

DIY CardboardCarwash Toy

My son’s current obsession is anything carwash. Just about everyday, he asks if we can go to the carwash when we are out running errands. His love for playing carwash inspired my latest activity idea: a fun, DIY crawl through car wash!

The kids can play with this several ways: by actually pretending they are the “cars” or using it to wash their big toy cars and trucks by pushing them through. It has proven to be extremely entertaining for their busy minds, and in addition to the great imagination and pretend play engagement it promotes, there are additional hidden benefits as well.

Super Fun & Easy

Crawling through the tunnel gives my kids a dose of proprioceptive input, which can do wonders for regulating the sensory system. Click here to learn more about proprioceptive input.

By weight bearing on extended arms during crawling, it also provides strengthening for the shoulders, arms, core, and even the muscles of the hands. Putting weight through open hands strengthens the arches in the hands- which will be important for the development of handwriting and other fine motor skills.

While pushing cars through the car wash tunnel, you may notice a child using one hand on the ground to stabilize, and the other hand to push the car through. This promotes dissociation of the two sides of the body and allows for practice with crossing midline and bilateral coordination skills. 

DIY

My son didn’t play with the car wash the same way the whole time this evening. He tried to wash his wagon, his truck, and he pretended to be the car. By moving his body (and toys) through the makeshift car wash, he had the opportunity to work on his motor planning  and praxis skills. The development of such skills relies on using novelty in movement sequences.

But the list goes on… we made our car wash “scrubbers,” as my son calls them, brightly colored and slightly different fabrics, so my daughter enjoyed the tactile discrimination aspect of playing with the wash. We added an “open” and “closed” sign for fun (and it stayed open all evening).  I was pleasantly surprised with my kids’ ability to take turns moving through the car wash and sharing their space- a thing I think most siblings have trouble with.

The bonus was that I didn’t spend a penny on this project- I used scrap fabric and a leftover moving box. It feels good to save money and reuse old items.

So here’s how I made it:

box steps 1

I  started with an extra large moving box, with one end taped. Using a utility knife, I cut off the flaps from one side. (Please use caution with the utility knife).

Next, cut out a door for each side. Above the door, cut small holes about 1/2 an inch above the doorway.  I didn’t measure initially, I just eyeballed the size based on the size of my kids and their toys. It turned out to be  about 14 inches wide and just over 17 inches high.

DIY carwash

I used fabric strips to make the “scrubbers” (I had some leftover from another project or you could use scrap clothes, etc). I didn’t measure these initially, but they were about 2-3 inches in width by about 19 inches long.

Once you have your fabric strips, cut a small hole from about 1/2 inch from the end and feed that through a hole in the box. To secure, feed the opposite end of the fabric through the hole and pull snug. Continue until all the holes have scrubbers.

Since kids don’t seem to mind if things aren’t measured perfectly, it was a pretty quick project to complete.

DIY Carwash open

Just for fun I used some scrap cardboard and sticky-back velcro to make an “Open/Close” sign for the carwash. You could easily do this with markers or paint. It’s as easy as that!

If you decide to try this easy, beneficial DIY activity, please remember to keep your kids supervised for this activity!  I’d love to hear how your kids liked it!

DIY-1

*Disclaimer

Please use supervision with this activity, as young children or children with motor skills difficulties may get tangled up in the fabric strips.

The information presented in the blog is intended for information purposes only. Please consult your physician with any medical concerns and/or for medical advice. The information presented is not intended to be used in place of individualized therapy services, please contact your health care team for skilled therapy if you think it is necessary. Please supervise your children (or friends, spouses, etc)  if you decide to try any of the activities or ideas presented as the author or this blog does not claim liability for possible injury or negative consequences related to the activities and ideas presented here.